
Using Activity pages to create an Itinerary
With Activity pages, you can easily add basic information about your activity as well as a detailed breakdown of the itinerary, the information will appear in an organised and concise way with Springnest's Activity page.
Here is our guide on how to give clients a breakdown of what they can expect from your Activity:
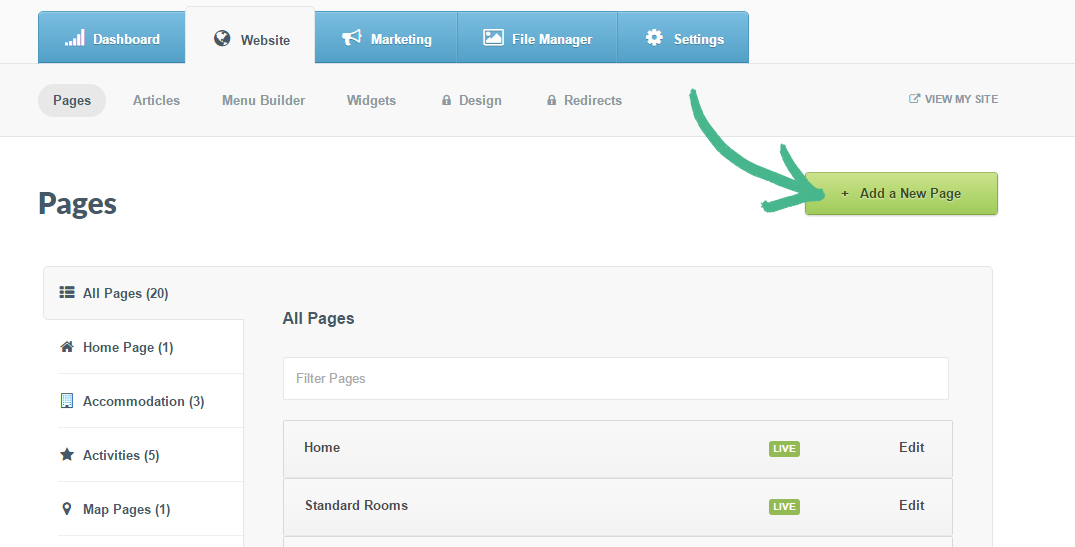
Step 1: Click the Website tab > Click the +Add New Page button
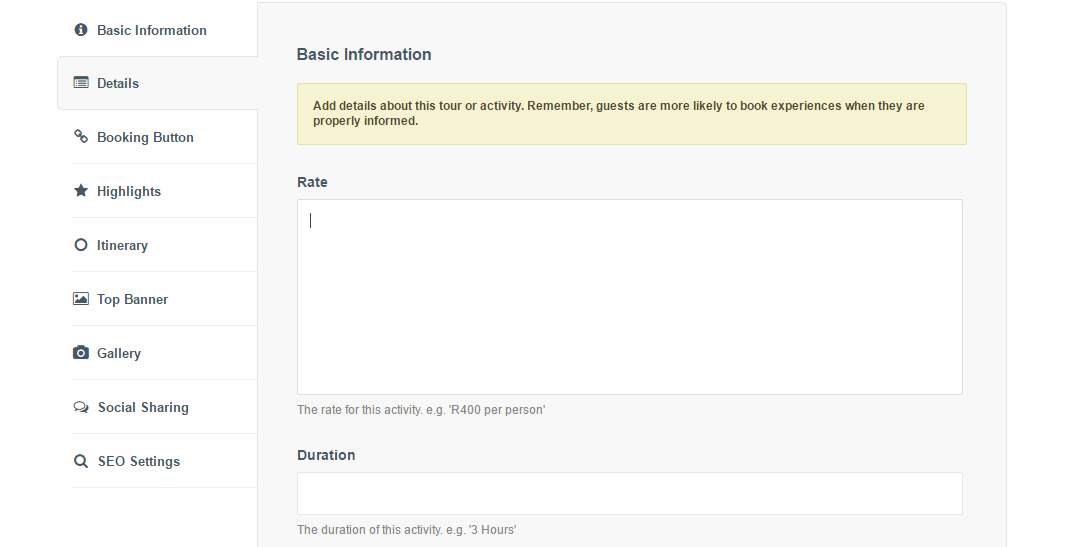
Step 2: Select Activity page from the pop-up menu > Once you've created the Activity page > Add Details to your activity, such as rate, duration, start location and dress etc. > Click Save
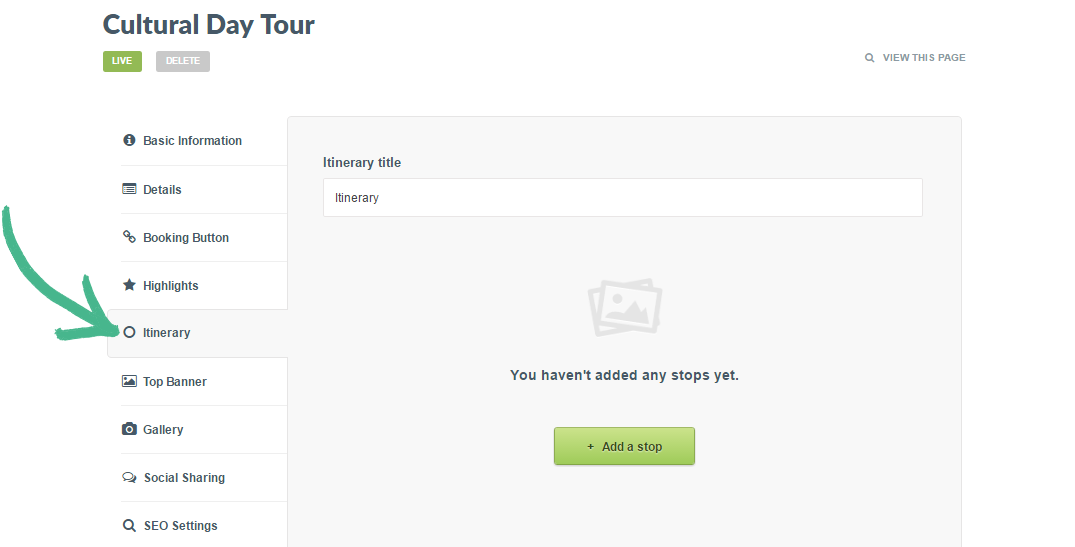
Step 3: Click Itinerary in the left-hand menu > Select the +Add a Stop button
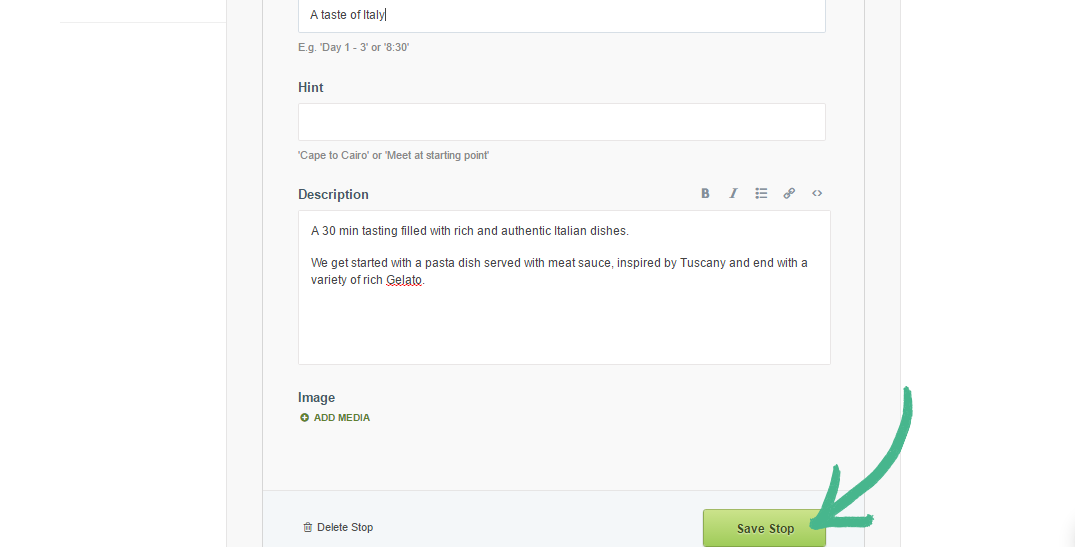
Step 4: Complete the Title, Hint (optional), Description field and add an Image
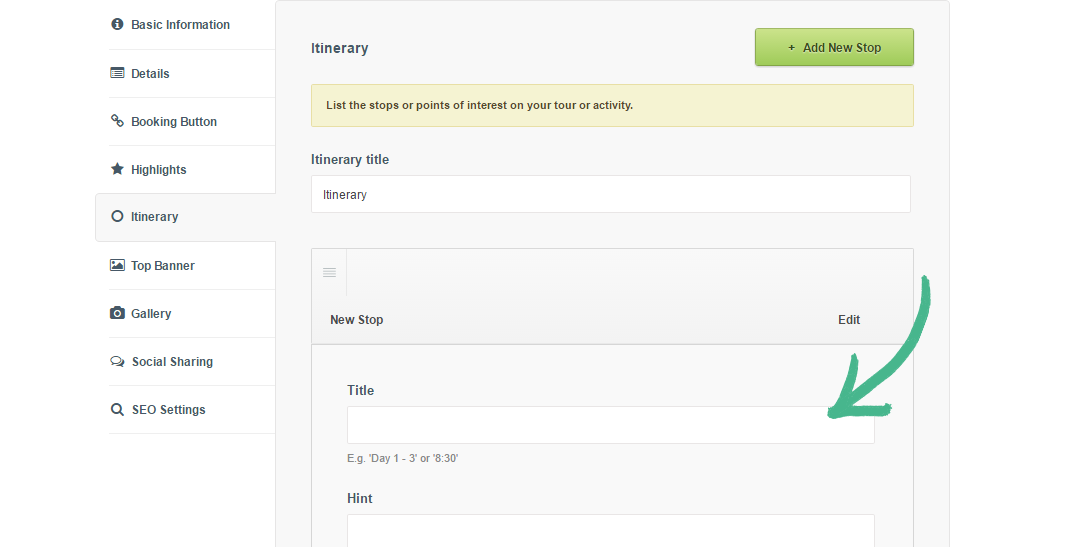
Note: When adding an image, by clicking the +Add Media button, this will appear as a thumbnail
Step 5: Once you've completed all the relevant fields, click Save Stop
Helpful Hint:
By adding more than one stop, you are able to create a detailed breakdown of the entire itinerary
Add highlights to your tour or activities page, learn more here.