Adding a Popup Message to your Springnest Website
You can create a popup that appears when visitors land on your site to advertise a special offer, collect sign-ups to your Mailchimp mailing list, promote your latest blog article, or simply show an important message.
Keep in mind
You can only have one popup active at a given time
When a visitor dismisses a specific popup, they will not see it again for 7 days. If you save any changes to your popup's content or choose a different popup type, the process gets reset and all visitors will see the popup upon their next visit.
When a popup is active on your website, you'll see a "Show Popup" prompt in the footer of your website to manually trigger your popup even after it has been dismissed.
You can edit and preview your popup in Springnest and only set it as Active when you need it to display
Activating and Editing your Pop-up
Step 1
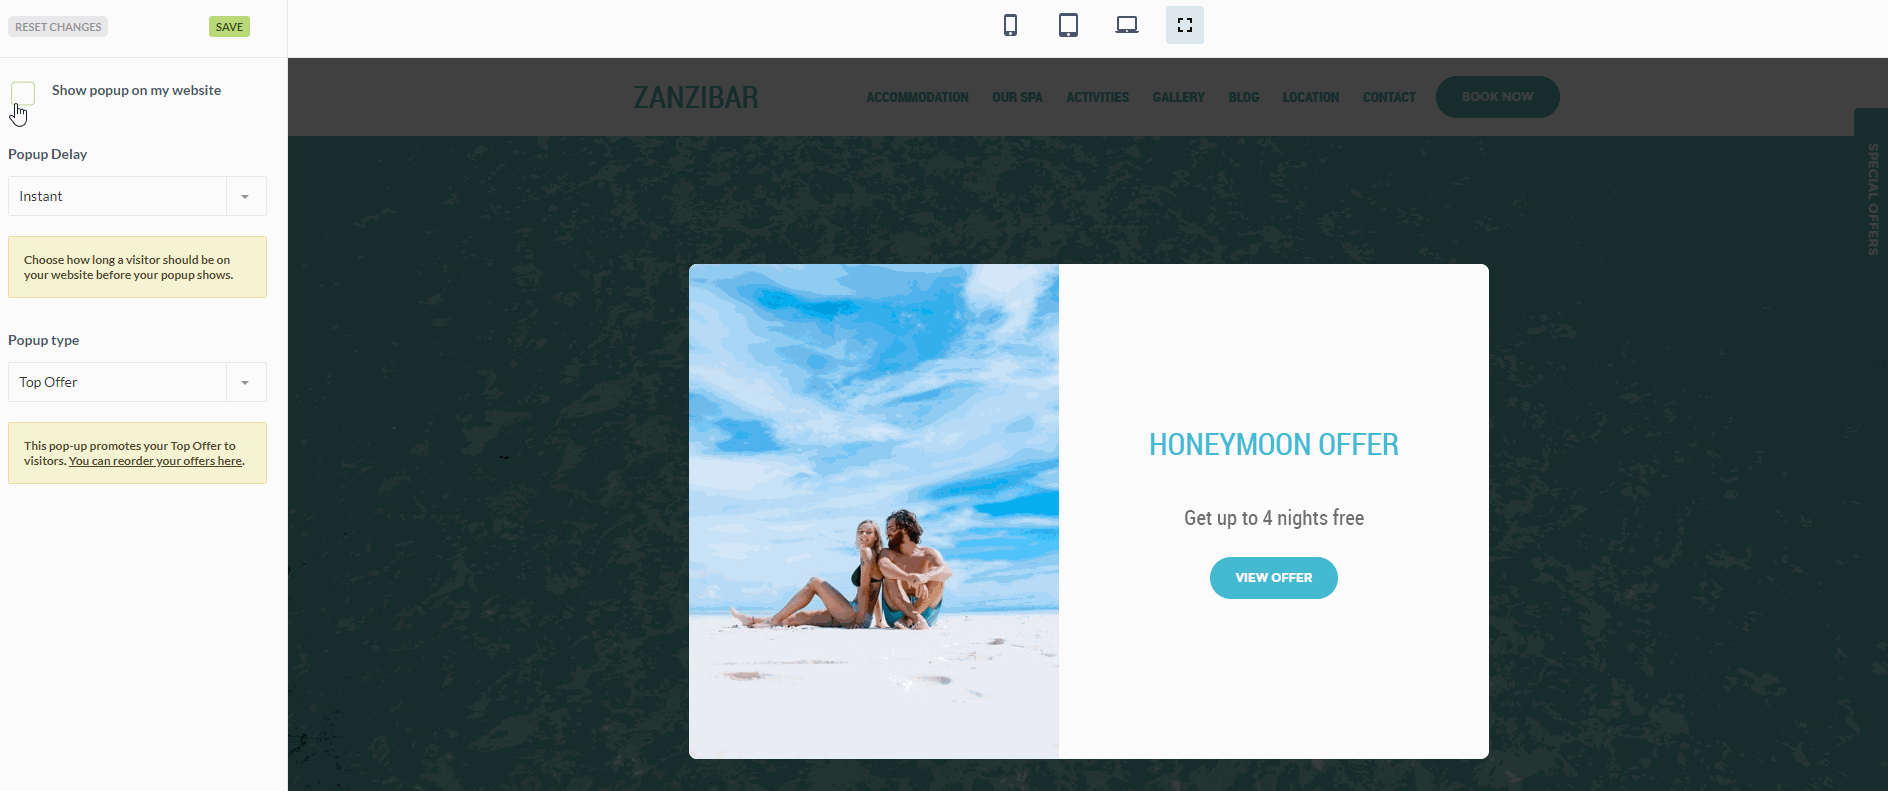
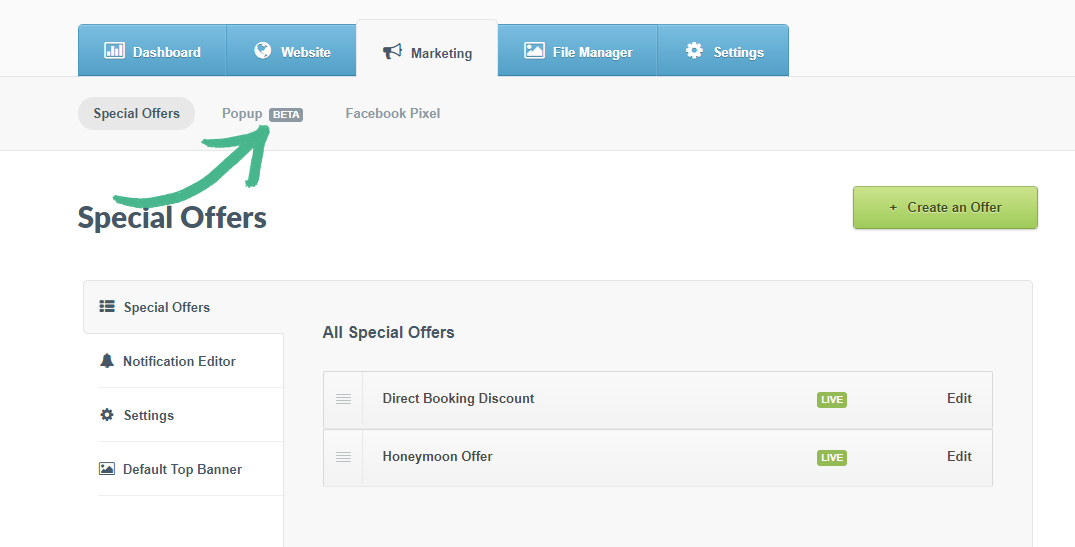
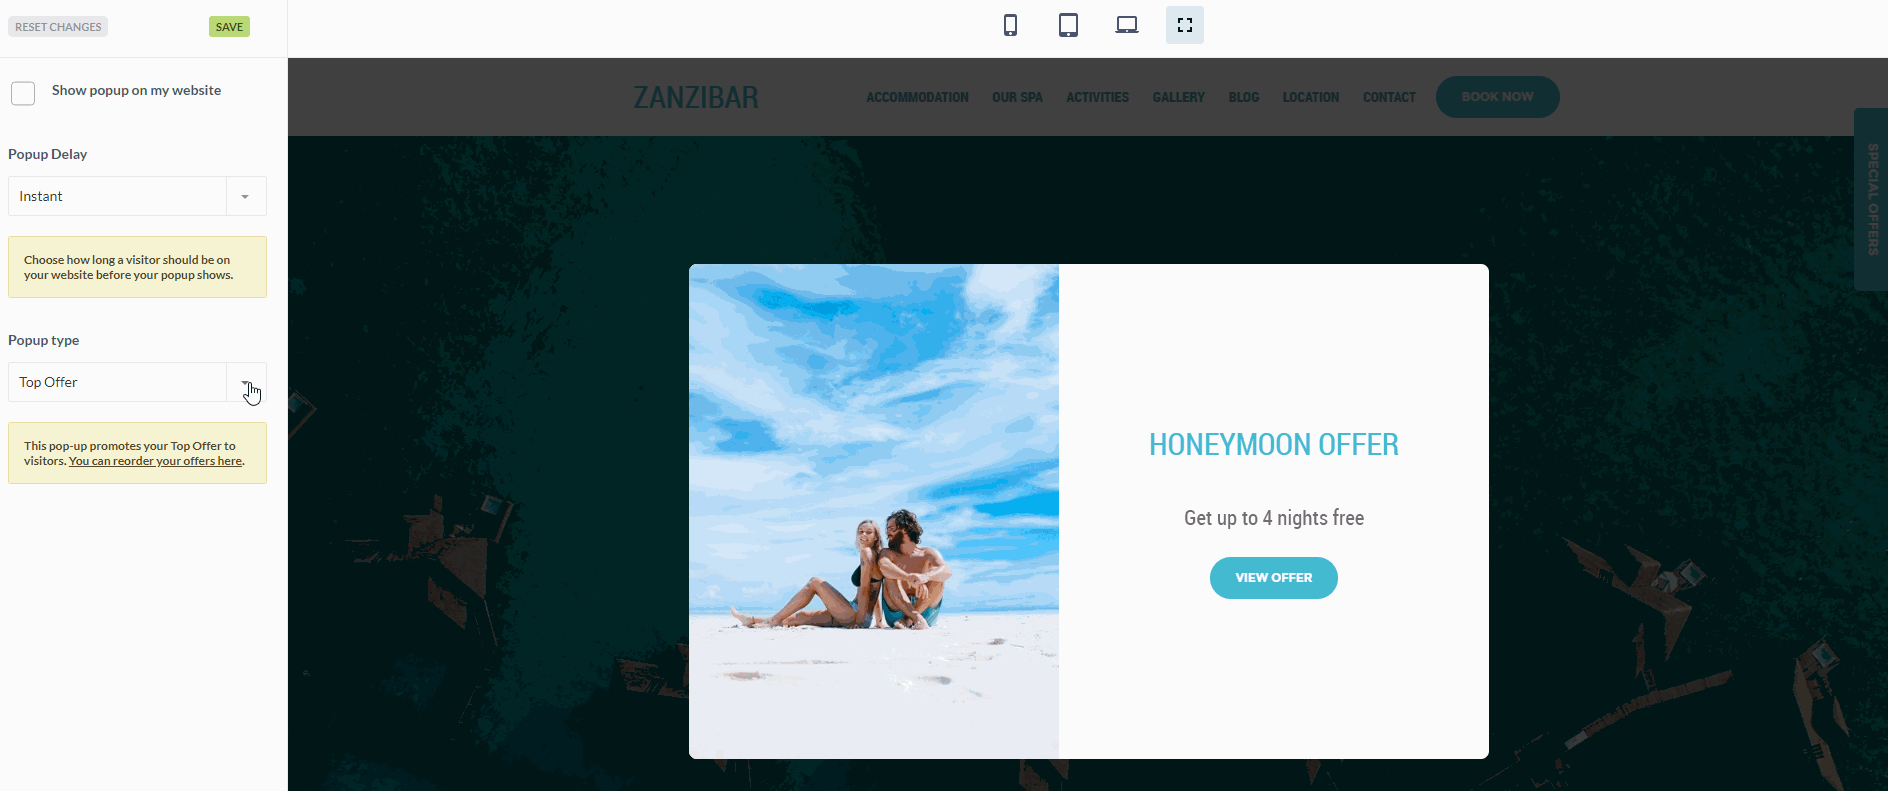
Navigate to the Marketing Tab, and select Popup from the submenu. You will enter the Live Popup Editor where you can see an example of what your popup will look like and set your popup to show on your website or not.
Step 2
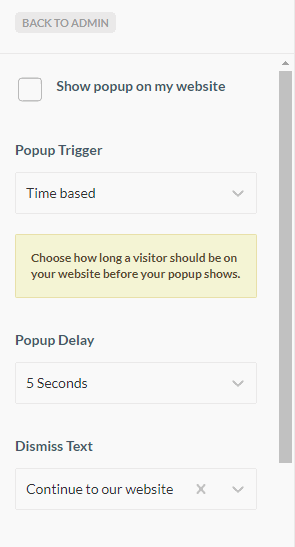
Select your Popup Trigger, there are 4 options to choose from:
Time-based (5 or 10-second delay is recommended for promoting offers and news)
On page load (recommended for important announcements)
On scroll (recommended to further engage already interested visitors)
On exit intent (recommended to gather Mailchimp subscribers or offer a last-minute incentive to book direct)
Step 3
Select your Popup type. There are 4 use cases to choose from
Custom Popup: Add your own title, text, image and link to display a message of your choice.
Latest Article: Show the title, summary, feature image of your latest blog article with a Read More link to view the full article.
Top offer: Show the title, hint, feature image of your Top offer with a View Offer link to view the full Offer.
Newsletter: Show your Mailchimp Newsletter sign-up form along with your own heading and text
Note: To use the Top Offer or Latest Article popup you will need to have at least one article or offer live on your website. To use the Newsletter offer you'll need to link a Mailchimp Account or Mail Blaze Account.
Step 4
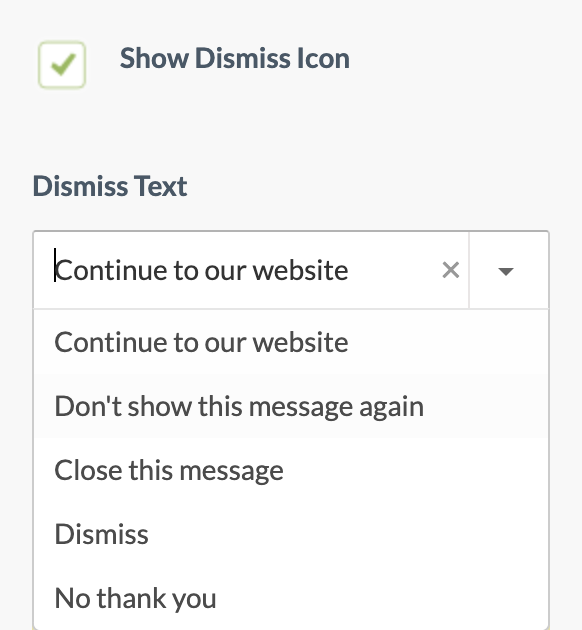
Click the Show Dismiss Icon box to enable an "x" in the top right of your pop-up. You can Select from a series of Dismiss Text to be shown at the bottom of your pop-up's content:
Step 5
Set your Popup to show on your website by clicking the tickbox at the top of the editor panel. You can untick this at any time you do you now want a popup to display on your website.
When you're ready, Save your changes and navigate back to Admin.