
Introduction to Pages
Using Springnest to manage and promote your content is simple, though it helps to familiarise yourself with a couple of basic principles of how your website is put together.
Your Springnest Website is made up of different page types.
Springnest uses different page types, each with a specific function and purpose. Your website can have more than one of each (e.g., an Accommodation page for each of your rooms). Each page type has a unique selection of features you can use and areas you can edit.
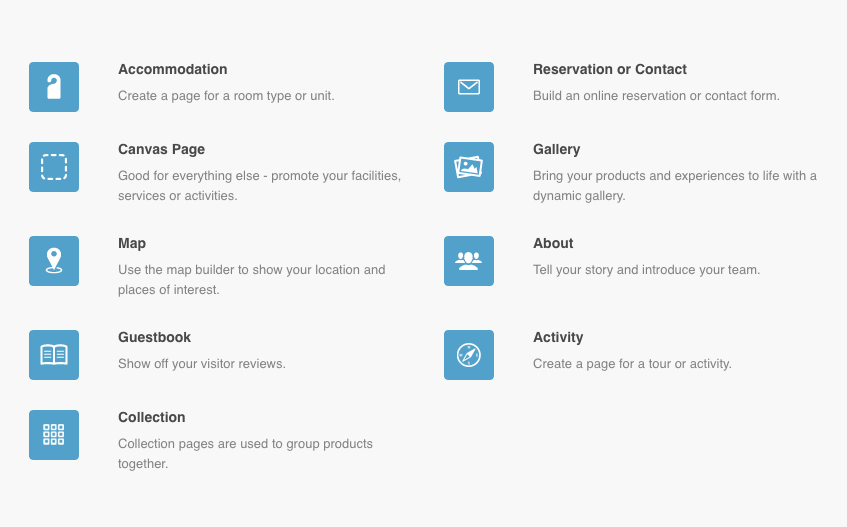
Once you've clicked the green +Add New Page button, the pop up below will appear asking:
Which type of page are you adding?
Each page on your website can be edited.
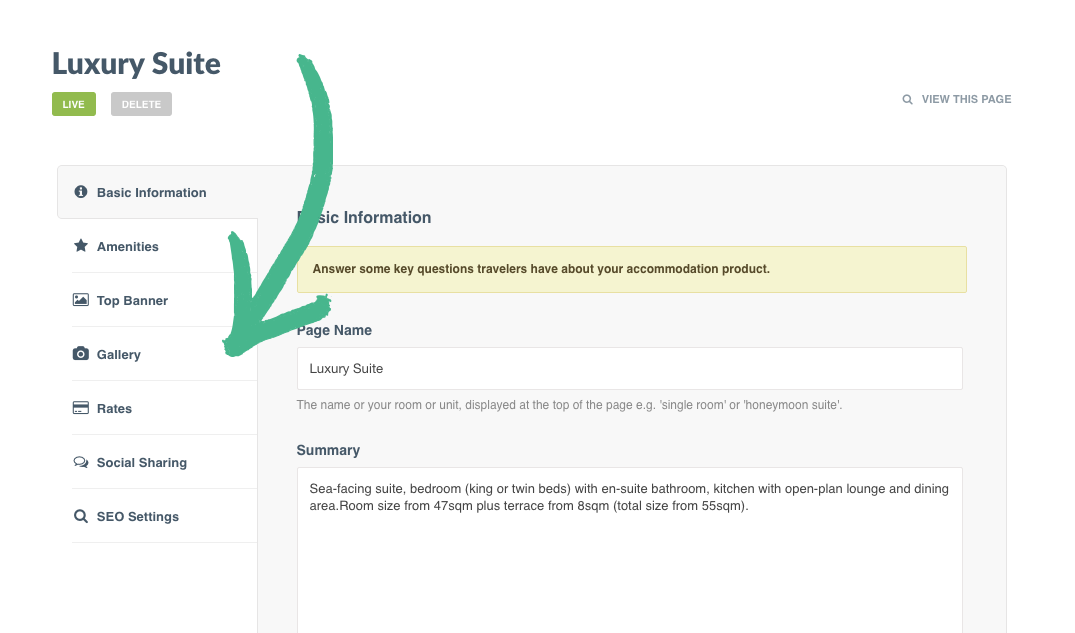
You have full control to edit each page on your Springnest site. By clicking on a page in the Pages view, you will enter the Editing view for that page, and you'll see a menu of options on the left-hand side.
In the screenshot below, an Accommodation Page, called "Luxury Suite" is being edited. The options that you are able to edit on this page include the basic information (name and description of the room), the amenities available in the room, the top banner or slider for the page, an image gallery for the room, and more.
Set your page as "Hidden" or "Live"
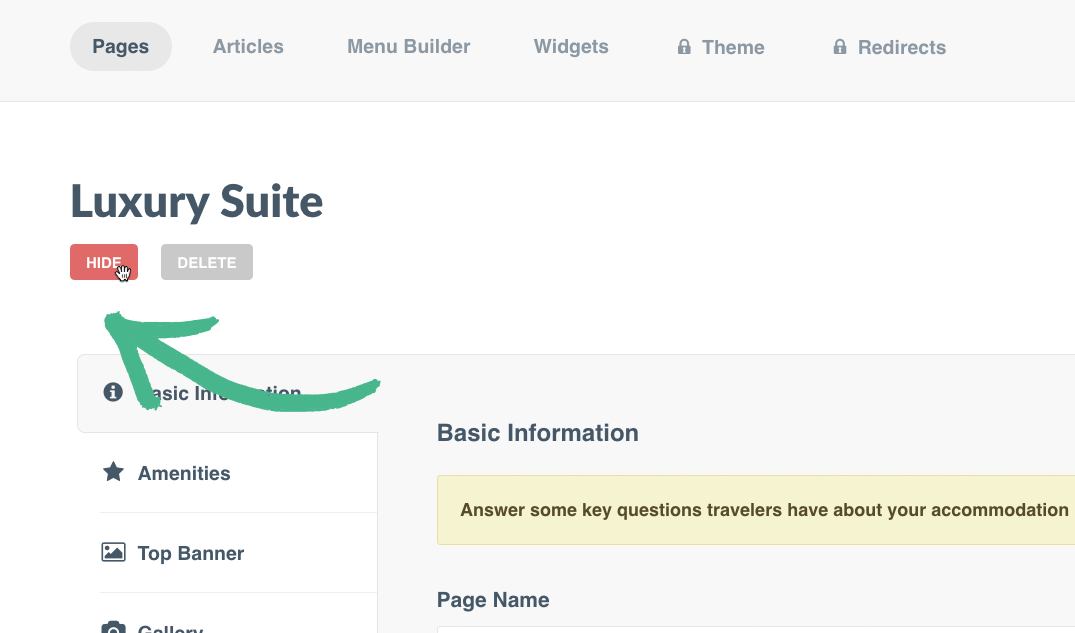
You can set your pages to be Live (visible for the public to see on your website), or Hidden (not visible to the public). If a page is Hidden, you are still able to edit this page.
You can change a page from Hidden to Live, or vice versa, by toggling the button below the page title.
Note: New pages, blog articles, and special offers you create will be Hidden by default until you are ready to take them live. Your Homepage will always be Live.