
Adding images to your blog articles helps keep your readers engaged, and tells your story in a visual and inspiring way.
How to add images between paragraphs in an article, and how to change the alignment of images within text.
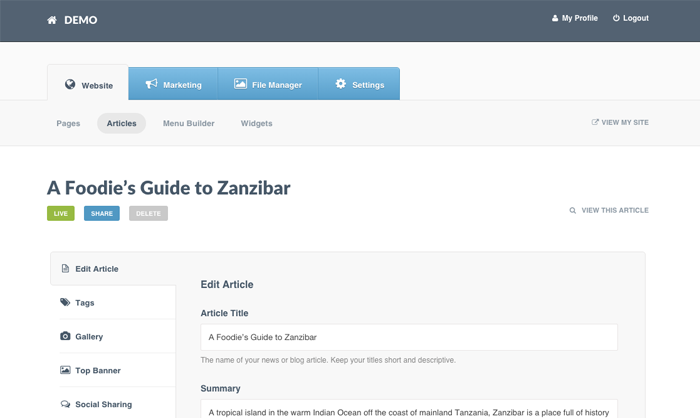
Step 1: Click on the Website tab > Select the Articles
In this example we are creating an article called A Foodie's Guide to Zanzibar
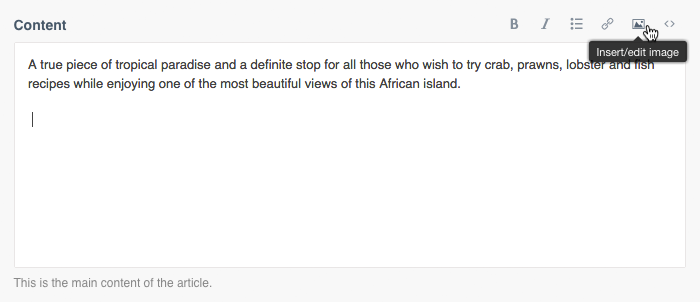
Step 2: Once you've added the body of your article in the Content field, click the Image icon in the editor
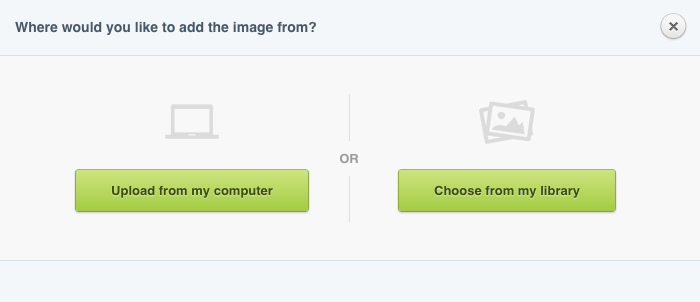
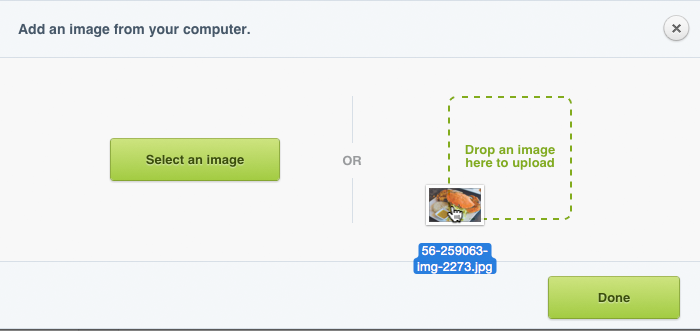
Step 3: Upload your image, or choose one from your library if relevant
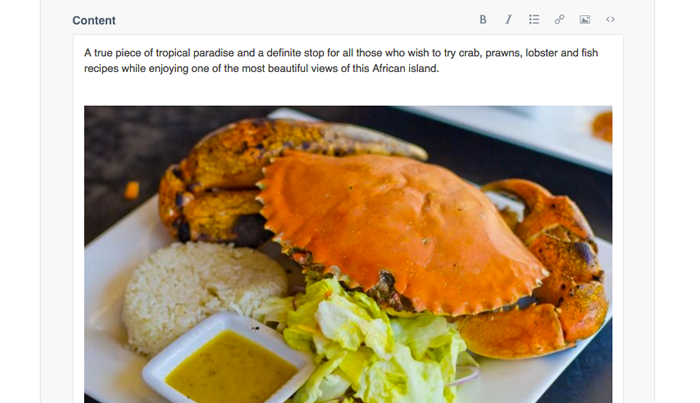
Step 4: Your image will now appear in the Content field
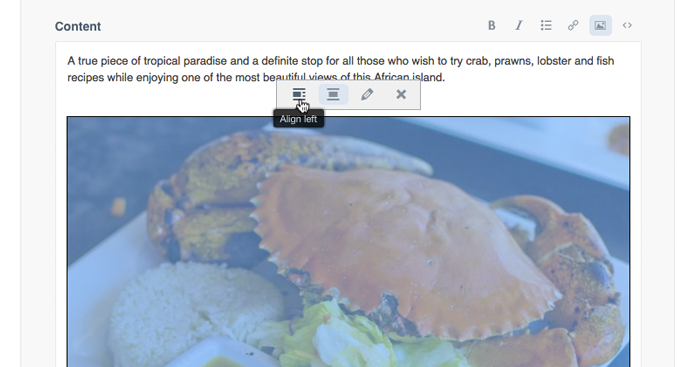
Changing the alignment of your image
Step 1: Click on the image > The entire image should now be highlighted in blue > In the pop-up menu above the image select Align left or Align center
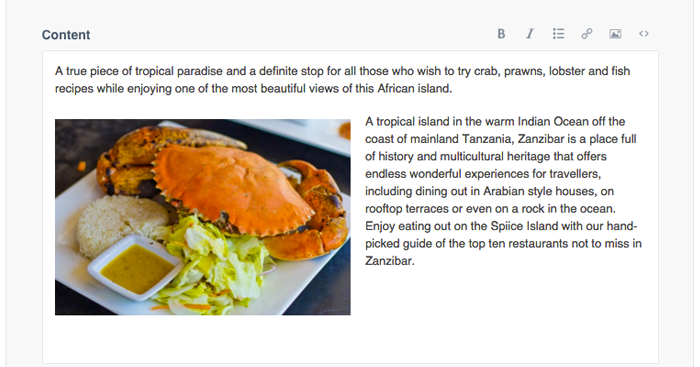
Preview: Left aligned image with content
Step 2: Save and Preview your new content