
Using Map Settings to change your map's appearance
Map Settings controls how your map page opens, what the map itself looks like, and how your markers are drawn. It sits alongside Build Your Map, where you add your points of interest.
Where to find Map Settings
Under the Website tab select Pages
Click your map page in the left-hand menu, then click Edit
Click the Map Settings tab
Where your map opens
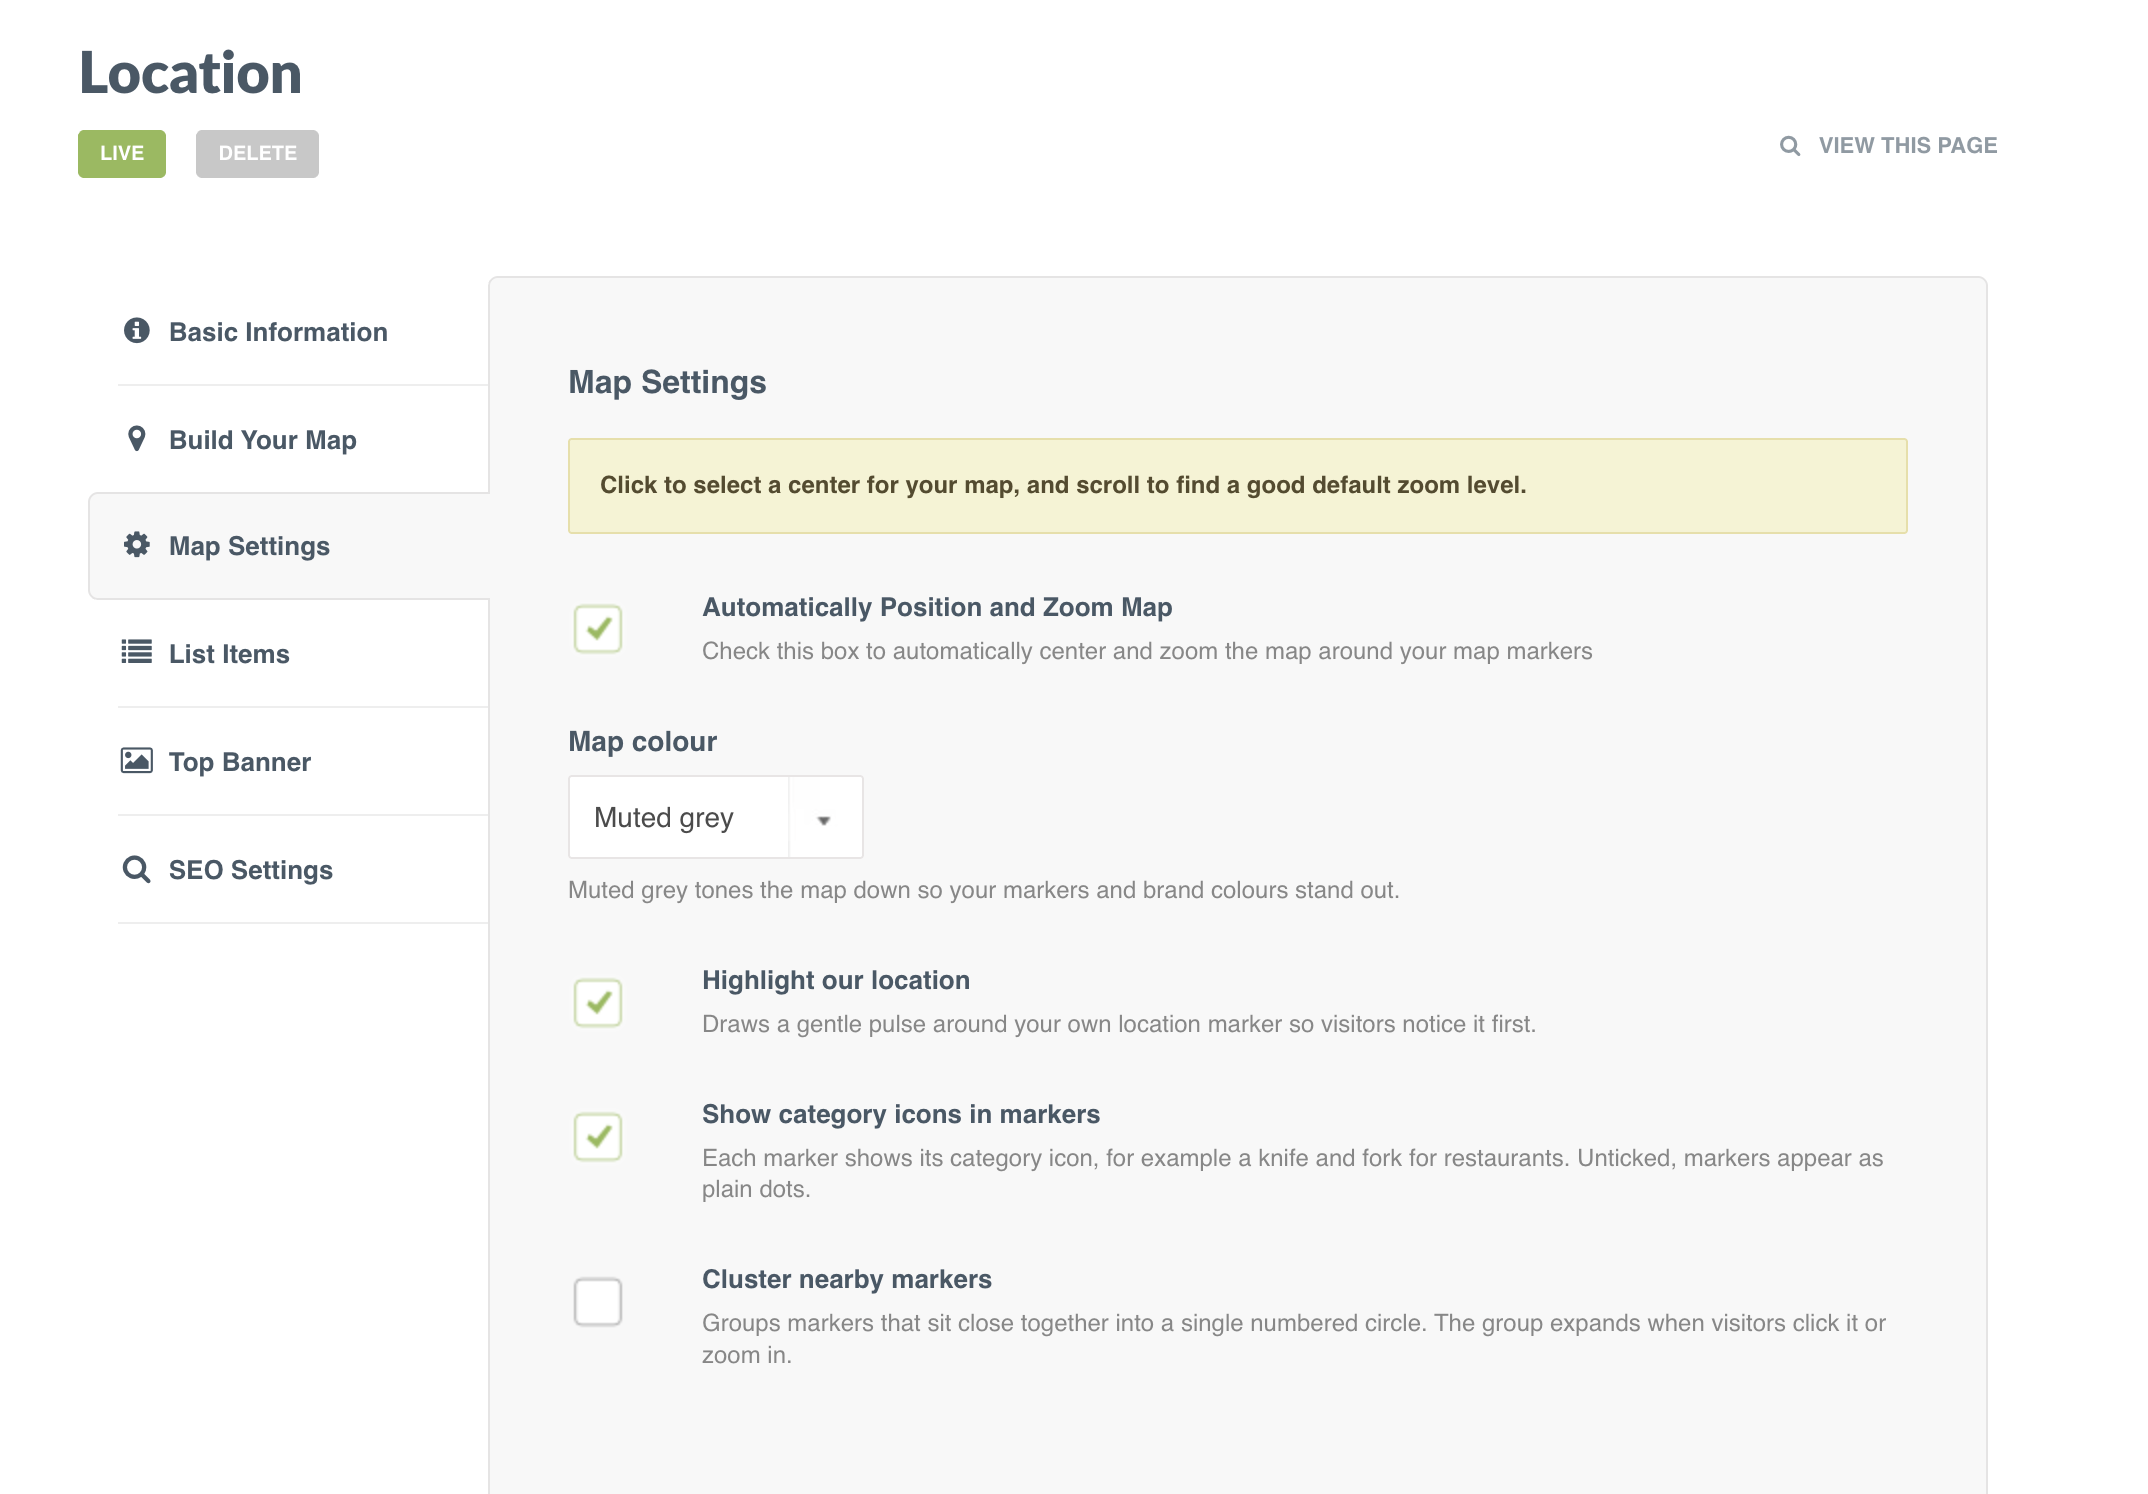
Automatically Position and Zoom Map is ticked by default. Springnest centres the map and sets the zoom for you, wide enough to fit every marker.
Untick it to set the view yourself. Click the map to select a centre, then scroll to find a good default zoom level.
Map colour
Switch the map between colour and muted grey, depending on your design preference. Muted grey tones the map down. With both of these settings, your markers take their colours from your site's palette.
Highlight our location
Draws a gentle pulse around your own location marker, so visitors notice it first.
Show category icons in markers
Each marker shows its category icon, for example a knife and fork for restaurants. Unticked, markers appear as plain dots.
Cluster nearby markers
Groups markers that sit close together into a single numbered circle. The group expands when a visitor clicks it or zooms in. This is useful when you have many markers in a small area, where they would otherwise overlap.
Saving your changes
Click Save at the bottom of the tab.
Note: These settings apply to the map page you are editing. If you have more than one map page, or a map section on a custom page, set each one separately.