Adding the Facebook Chat Widget to your Website
Adding the Facebook Chat Widget to your website will allow your website visitors to interact with your business anytime.

How to add the Facebook Chat Widget to your website:
To use this feature, you will need to:
Have a Published Facebook Business Page associated with your business
Be an administrator of your Facebook Business Page
Be logged into your Facebook Account here
Step 1: Click the Website tab > Select the Widgets section
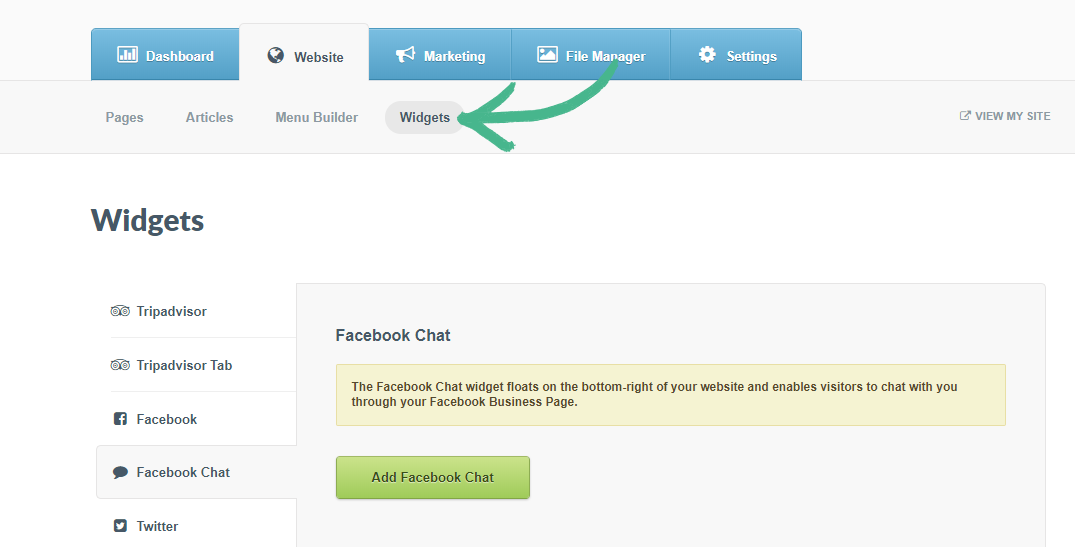
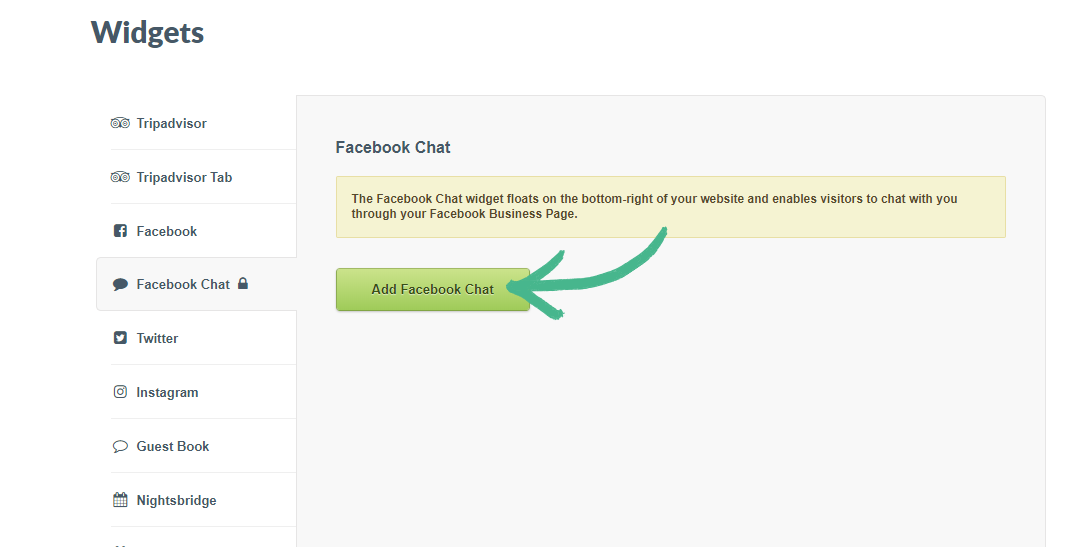
Step 2: In the left-hand menu click Facebook Chat > Click the Add Facebook Chat button
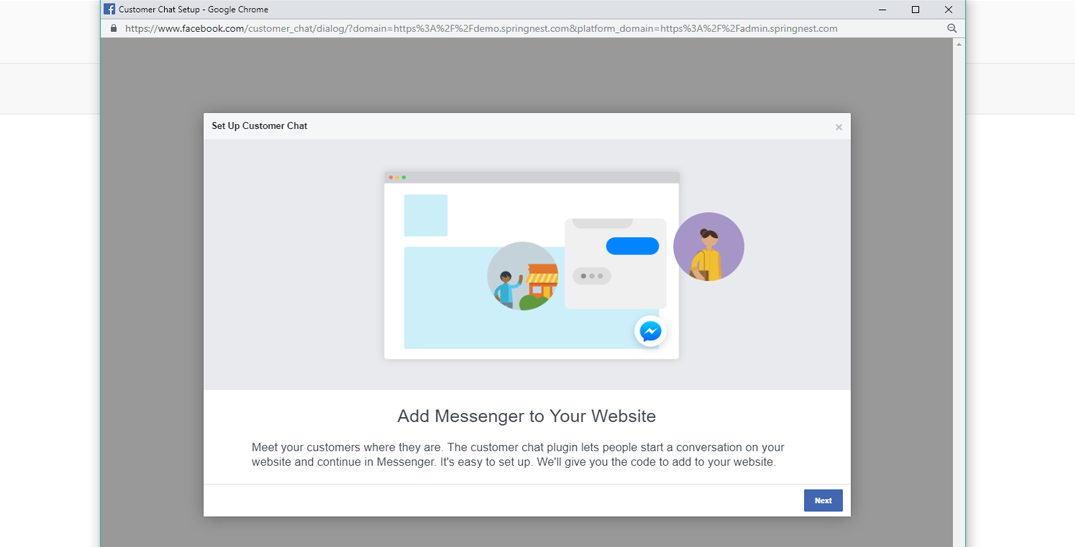
Note: An external window will pop-up once you've clicked the Add Facebook chat button.
Step 3: Click the Select Page button > Choose the relevant Facebook Page you manage > Click Continue

Step 4: Read the pop-up messaging regarding Adding Facebook Messenger to your website > Click Next
Set-up Customer Chat:
Step 5: Read and complete the Language and Greeting Message fields > Click Next
Appearance:
Step 6: Optionally you can add custom colours to your Facebook Messenger icon > Click Finish
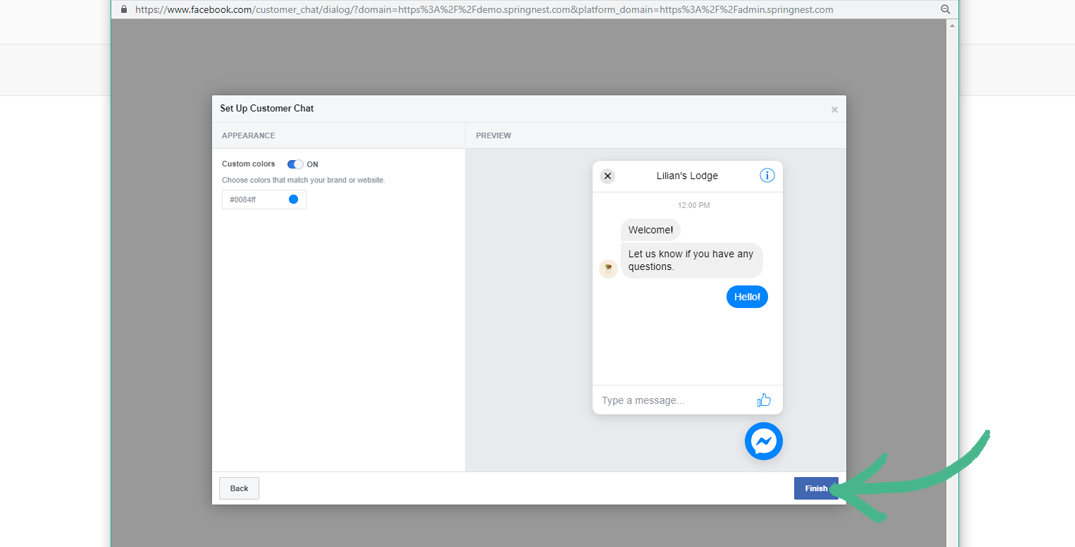
Note: Springnest will automatically choose a colour for the Facebook Chat widget, to match your websites design.
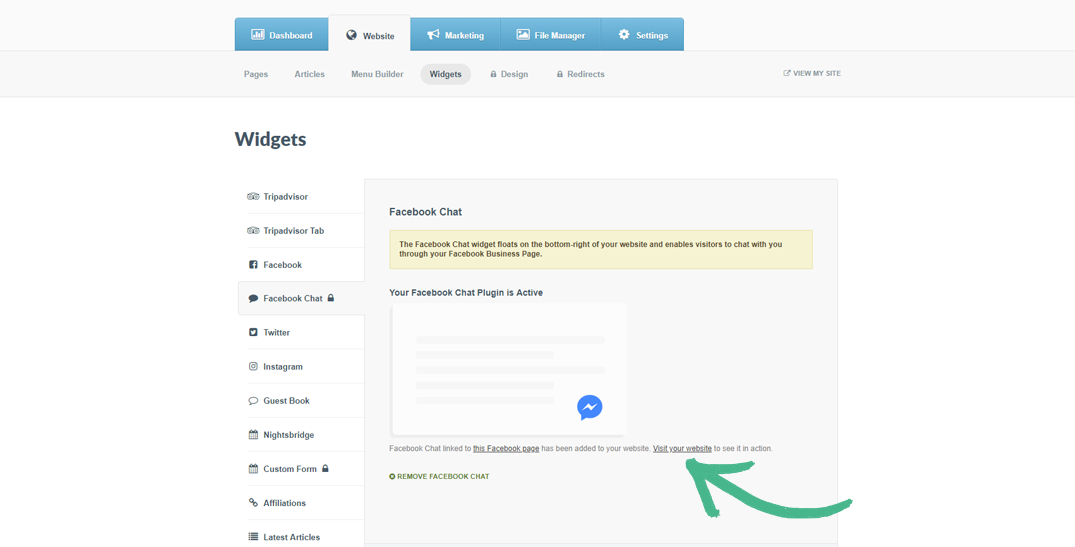
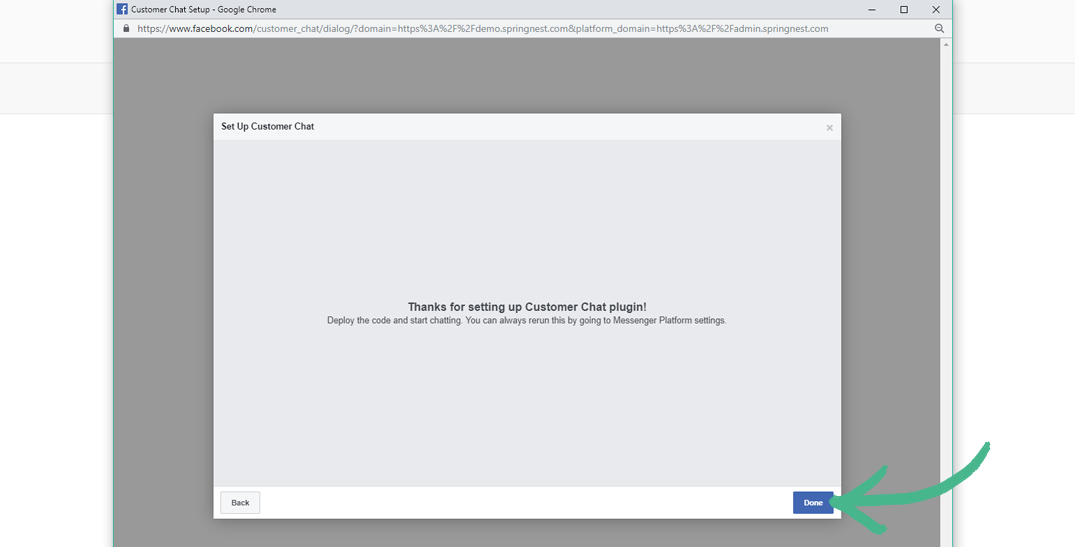
Step 7: Your Facebook Chat Widget setup is now complete > Click Done
Set-up Complete:
Step 8: You will see a message confirming that your Chat widget has been added > Click Visit your website to see it in action.