
Adding and Configuring the WhatsApp widget on your Springnest website
Springnest lets you add a WhatsApp widget to your website, with support for multiple contacts, a call option, and full control over how the button looks and where it sits.
Setting up your first contact
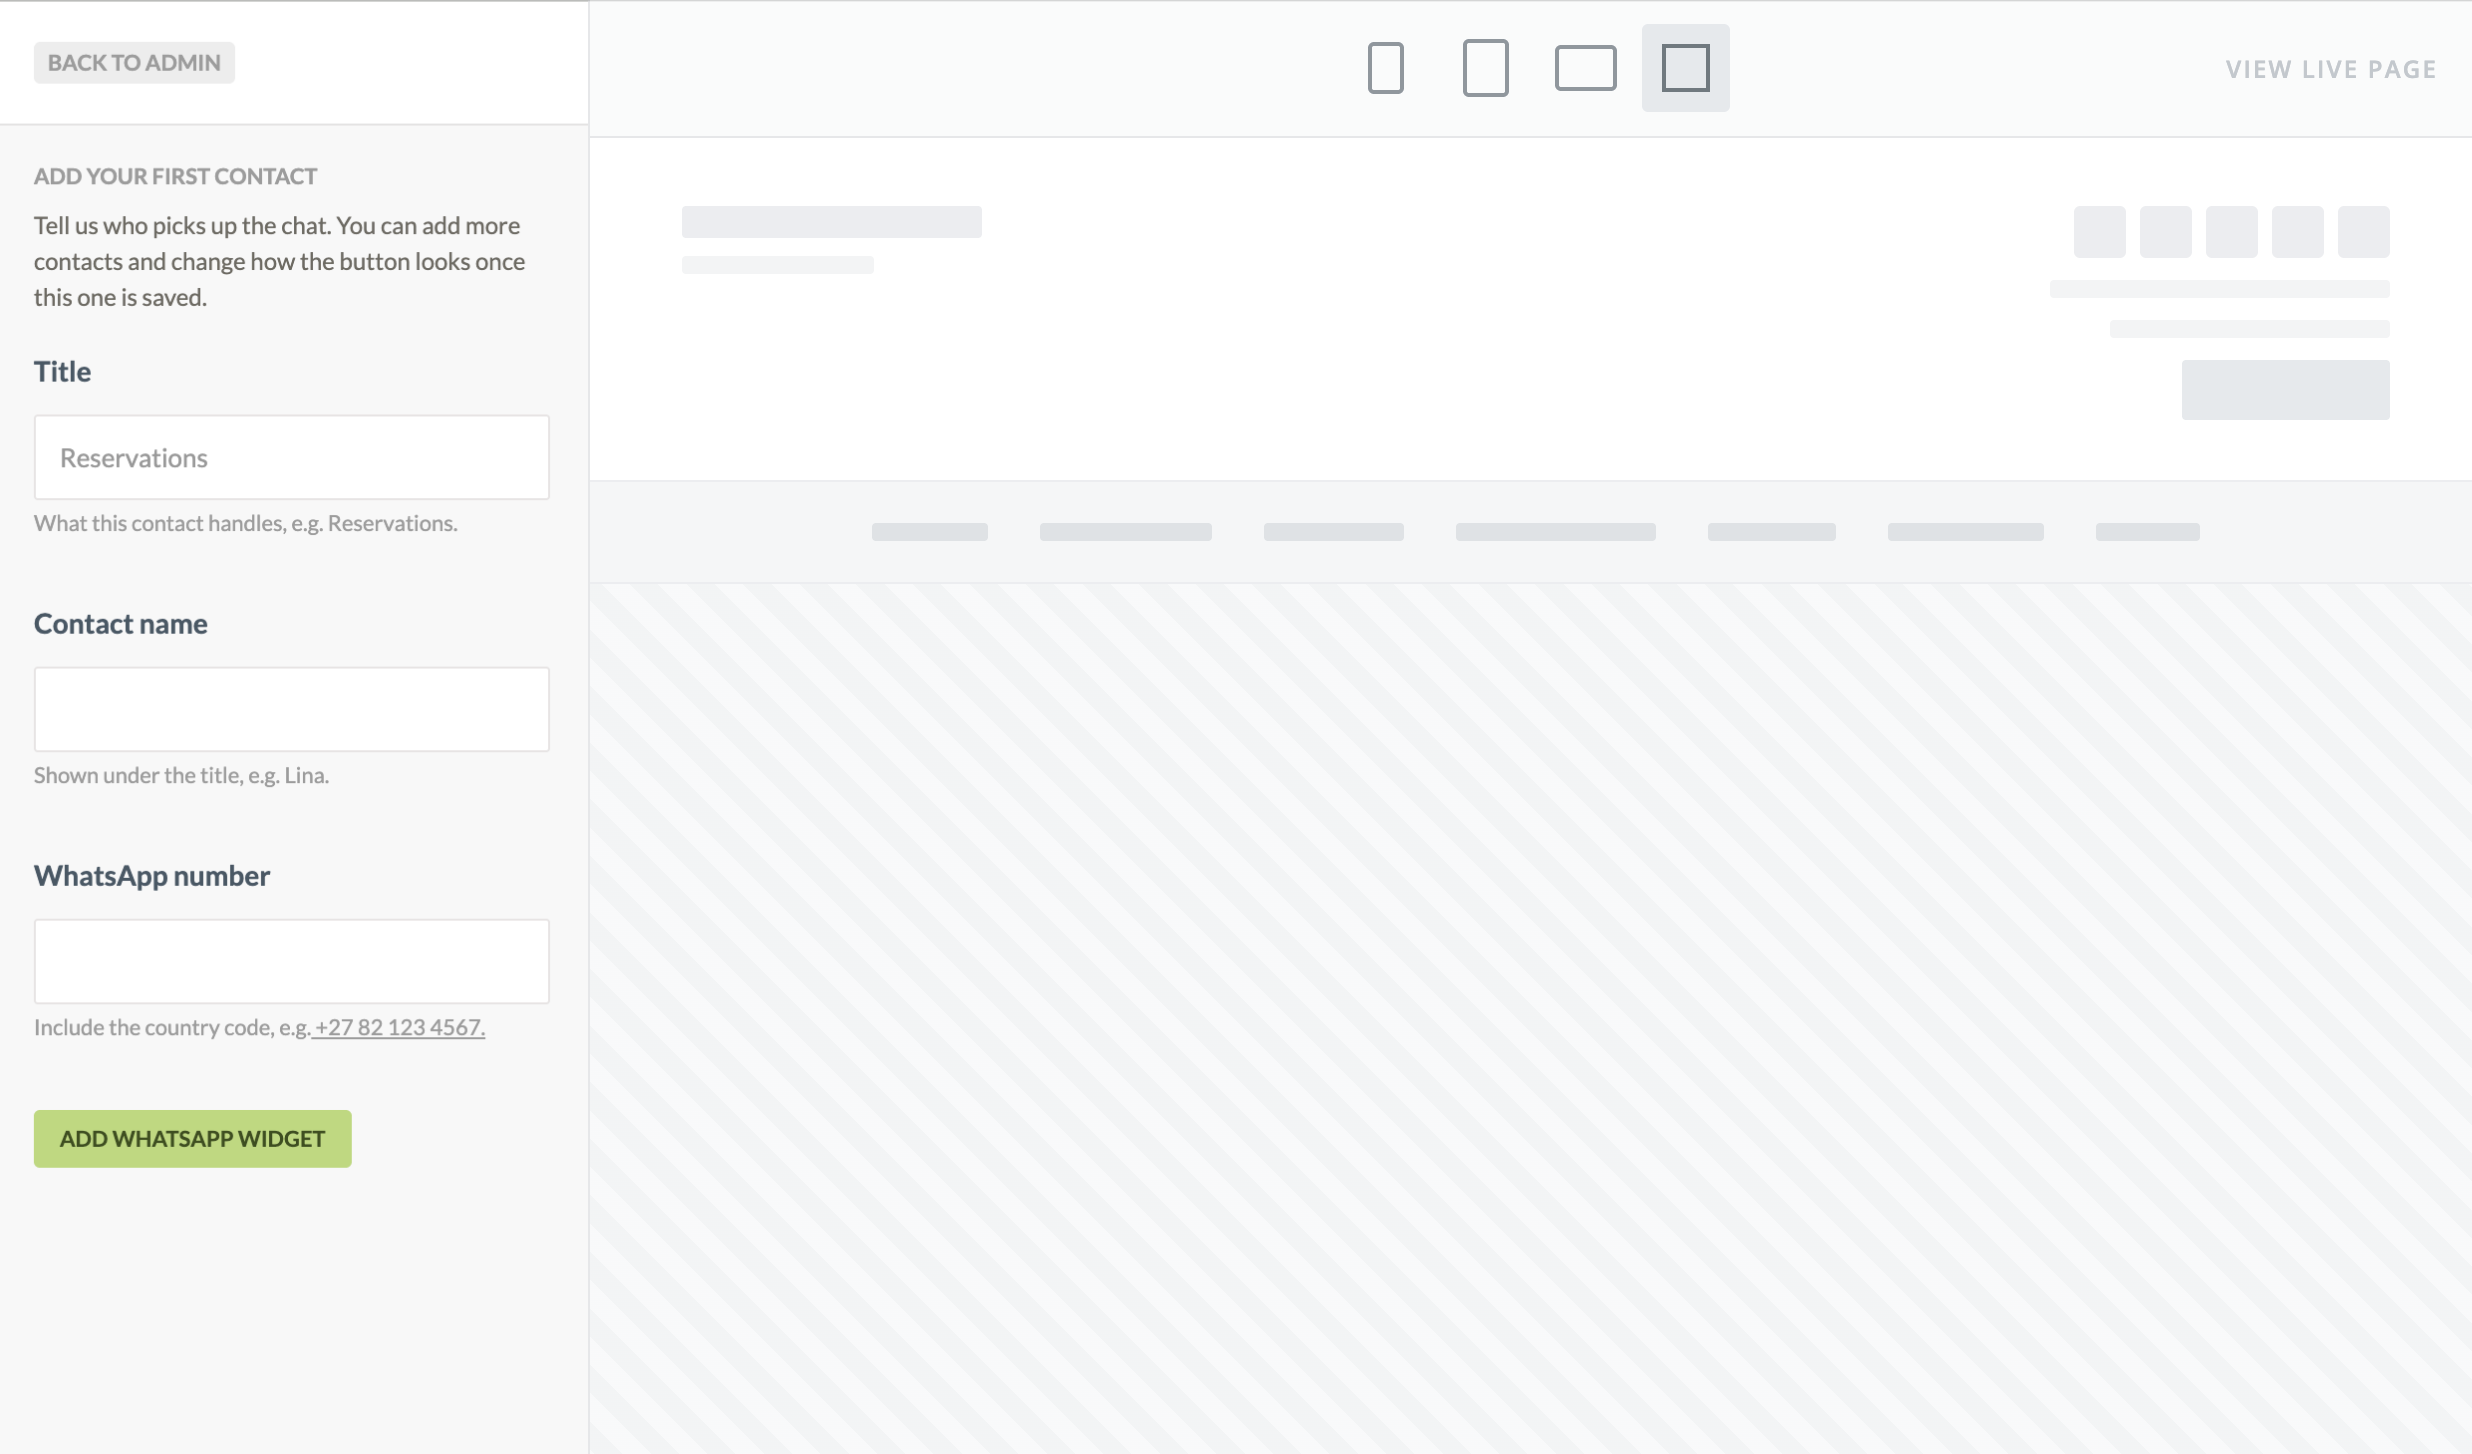
The first time you set up the widget, you'll be asked for one contact to get started:
Title: what this contact handles, e.g. Reservations
Contact name: shown under the title, e.g. Lina
WhatsApp number: include the country code, e.g. +27 ### ####
Click Add WhatsApp widget. You can add more contacts and change how the button looks once this one is saved.
Adding further contacts
You can add multiple WhatsApp number for your visitors to choose from when starting a conversation. This is useful if you use separate WhatsApp numbers for different departments of your business, eg. one for reception and reservations, and one for your spa.
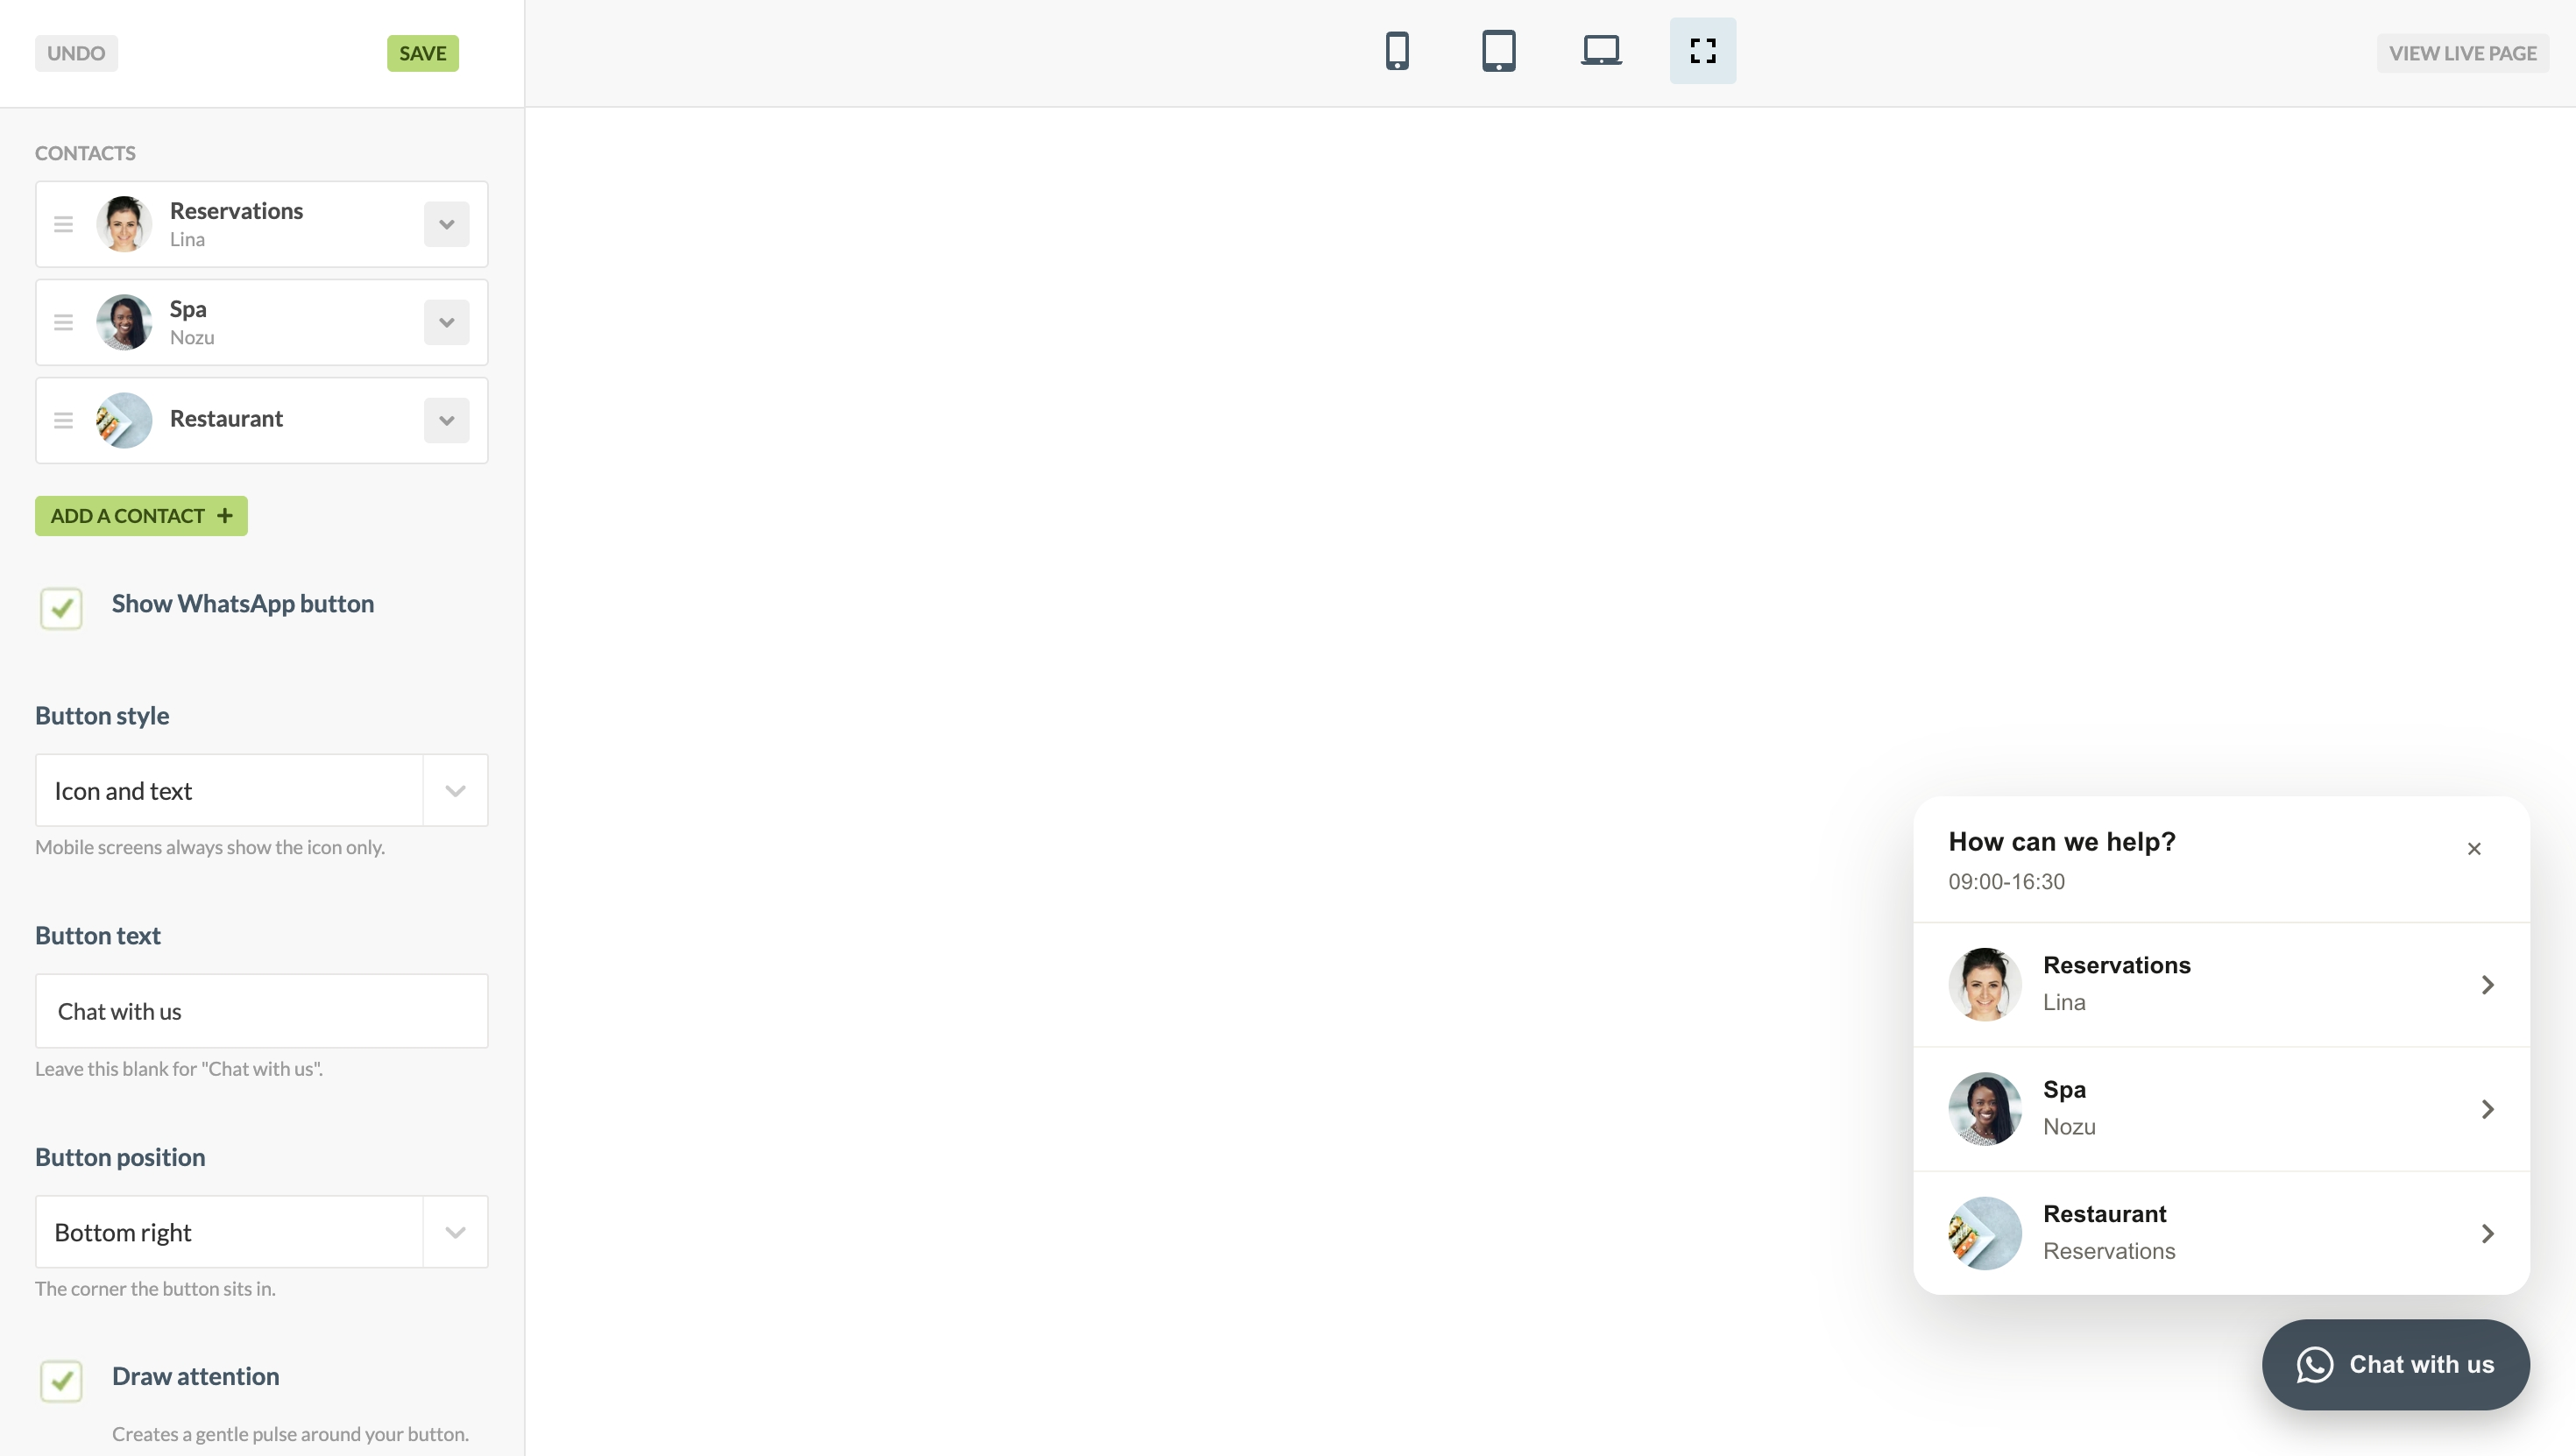
Click Add a contact. Each contact has the fields above, plus:
Photo: optional, shown next to the contact
Welcome message: optional, shown in the chat panel for that contact, e.g. "Can I book a table for you?"
Show this contact: hides a contact without deleting it
Add as many contacts as you need. Visitors pick one from the panel before being handed off to WhatsApp.
Set your Button appearance
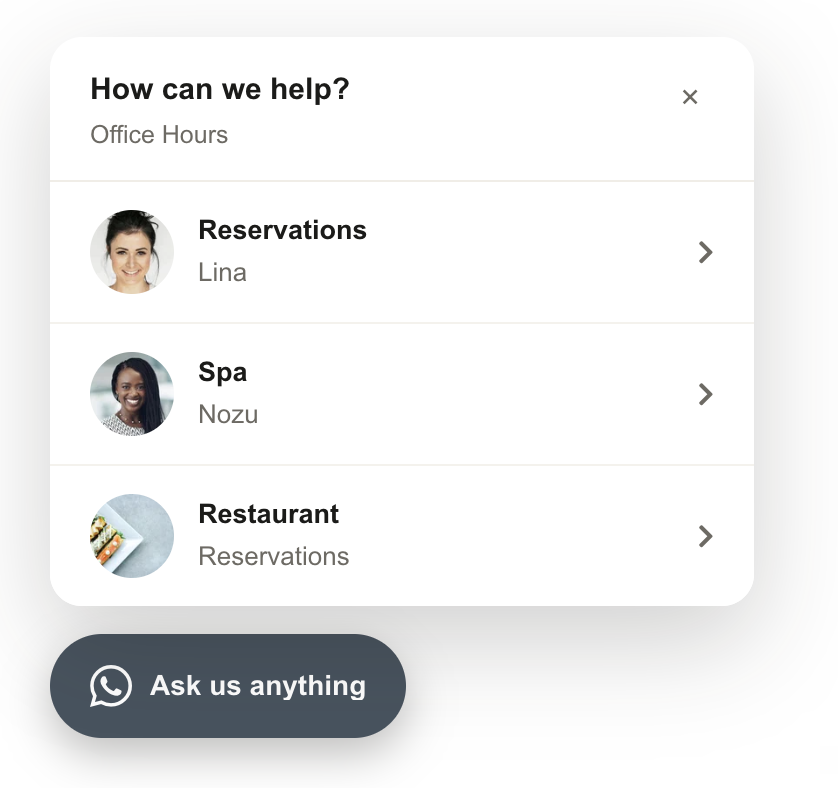
Button style: Icon only, Icon and text, Icon with a teaser message, or Contact photos and text
Button text: a custom label (leave blank for "Chat with us")
Button position: the corner of the screen the button sits in
Draw attention: adds a gentle pulse around the button
Button colour: WhatsApp's colours or your site's own colours
Panel settings
Panel heading: shown at the top of the contact panel (leave blank for "Who can help you?")
Reply hours: shown under the heading, e.g. "We answer between 07:00 and 21:00"
Other options
Offer a call: adds a call button that dials the first number in your contact details
Mobile only: hides the button on desktop and laptop screens
Save
Click Save to publish your changes.